

Delivering the right message to the right person at the right time is the central promise of Salesforce Marketing Cloud. Journey Builder and dynamic content are how you deliver on it — not as a one-off campaign, but as a scalable, automated system that responds to individual customer behaviour.
This guide covers how to build personalised journeys with dynamic content in SFMC, from audience definition through to Einstein-powered optimisation.
1. Define Your Audience and Data Foundation
Personalisation is only as good as the data behind it. Before building any journey, confirm that your contact data is structured to support the personalisation logic you want to run.
Data extensions are the foundation. Every dynamic content rule and journey decision split reads from data extension fields — loyalty tier, product category, purchase date, engagement score, geographic region. If those fields do not exist or are not reliably populated, personalisation fails silently.
Before building:
— Confirm your target data extension has the fields your journey logic will reference — Validate that data is being populated correctly — check for nulls, mismatched formats, and stale records — Define your audience segment using a SQL Query Activity if you need to filter contacts before entry
For a practical walkthrough of building audience segments with SQL, the SQL in SFMC guide covers the query patterns you will use most often.
2. Create Dynamic Content Blocks in Content Builder
Dynamic content in SFMC is built in Content Builder using Dynamic Content Blocks — email content areas that render differently for different subscribers based on rules you define.
How to Create a Dynamic Content Block
- Open Content Builder → Create → Email Message
- Add a content block to your email layout
- Click the block and select Make Dynamic
- Define your default content — what renders for subscribers who do not match any rule
- Click Add Rule to define conditions for each content variant
Setting Up Dynamic Rules
Each rule defines: if [field] [operator] [value], show [content variant]. For example:
| Rule | Content Shown |
|---|---|
| LoyaltyTier = Gold | Gold member early access offer |
| LoyaltyTier = Silver | Silver member 20% discount |
| PurchaseCategory = Footwear | Footwear new arrivals |
| Default | General promotional offer |
Rules are evaluated in order — the first matching rule wins. Put your most specific rules first and your broadest rule last.
Dynamic Content vs AMPscript
Content Builder’s Dynamic Content Blocks work through a visual interface and are suitable for swapping entire content sections. For more granular personalisation — inline text changes, conditional sentences, data lookups at send time — use AMPscript directly in the HTML. The two approaches are complementary and can be used in the same email.
For AMPscript examples you can use directly, see the AMPscript setup guide.
3. Build Your Journey in Journey Builder
With your audience and content ready, open Journey Builder and click Create New Journey.
Configure Your Entry Source
Choose how contacts enter the journey:
- Data Extension — contacts enter when they appear in a specified data extension, either on a schedule or in real time
- API Event — contacts enter via a real-time API call, triggered by an external system (e-commerce platform, app, CRM)
- Salesforce CRM Event — contacts enter based on a CRM record change (lead status update, opportunity stage change)
- CloudPages Form — contacts enter after submitting a form on a Marketing Cloud landing page
For most marketing journeys, a Data Extension entry source fed by a scheduled SQL Query Activity in Automation Studio is the most reliable approach.
Set Your Journey Goal
Define what success looks like before you add any activities. Journey Builder’s Goal feature tracks when contacts achieve a defined outcome — a purchase, a form submission, a data field update — and exits them from the journey automatically when they do.
Setting a goal also gives you a clean conversion metric to measure journey performance against.
4. Add Personalisation Logic with Decision Splits and Wait Activities
This is where journey personalisation happens in practice.
Decision Splits
A Decision Split routes contacts down different paths based on a data attribute or engagement behaviour. Add one after every send activity — do not let contacts move through the journey on a single linear path.
Data-based split example: After the journey entry point, split contacts by loyalty tier:
— Path A: Gold members → premium content email
— Path B: Silver members → standard offer email
— Path C: All others → acquisition email
Engagement-based split example: After sending an email, wait 3 days then split:
— Path A: Clicked → send follow-up with deeper product content
— Path B: Opened but did not click → resend with different subject line and CTA
— Path C: No open → send re-engagement message or suppress from this journey
Wait Activities
Control the timing between touchpoints. Options:
- Wait by Duration — hold contacts for a fixed period (1 day, 3 days, 1 week) before the next activity
- Wait by Attribute — hold contacts until a specific date field value (e.g., subscription renewal date, appointment date)
- Wait Until — hold contacts until a specific date and time
Timing discipline matters. A welcome series that fires three emails in 24 hours will generate complaints. A re-engagement series that waits 14 days between messages will stall momentum. Match your wait logic to your subscriber’s expected behaviour pattern.
5. Personalise Email Content Within the Journey
Each email activity in Journey Builder links to an email built in Content Builder. That email can use dynamic content blocks, AMPscript, and personalisation strings — all resolved at send time using the contact’s entry data and current data extension values.
Entry Data Personalisation
Journey Builder passes entry data — the fields from the data extension the contact entered from — into every email in the journey. Reference them using standard personalisation strings or AMPscript lookups.
Real-Time Data Lookups
For data that changes frequently — account balance, loyalty points, stock availability — use AMPscript Lookup() functions in your email to retrieve the current value from a data extension at the moment the email renders, rather than relying on the entry data snapshot.
%%[
var @points
set @points = Lookup('Loyalty_Data', 'PointsBalance', 'ContactKey', [ContactKey])
]%%

You currently have %%=v(@points)=%% loyalty points.
This ensures subscribers always see their current balance, not a value captured when they first entered the journey.
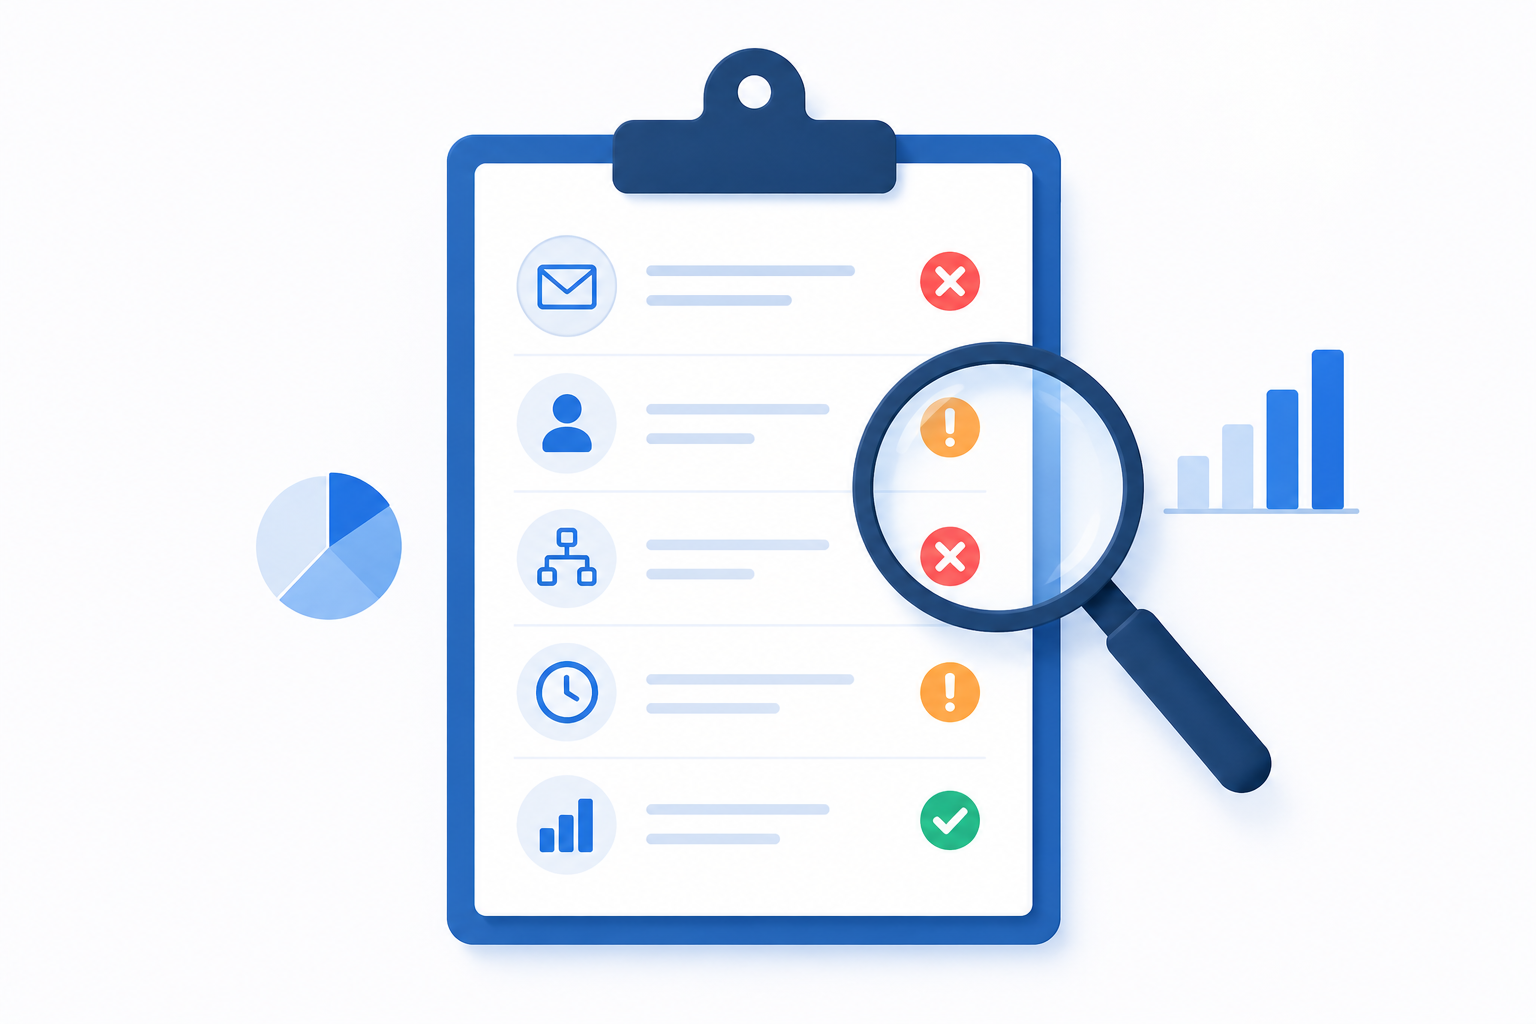
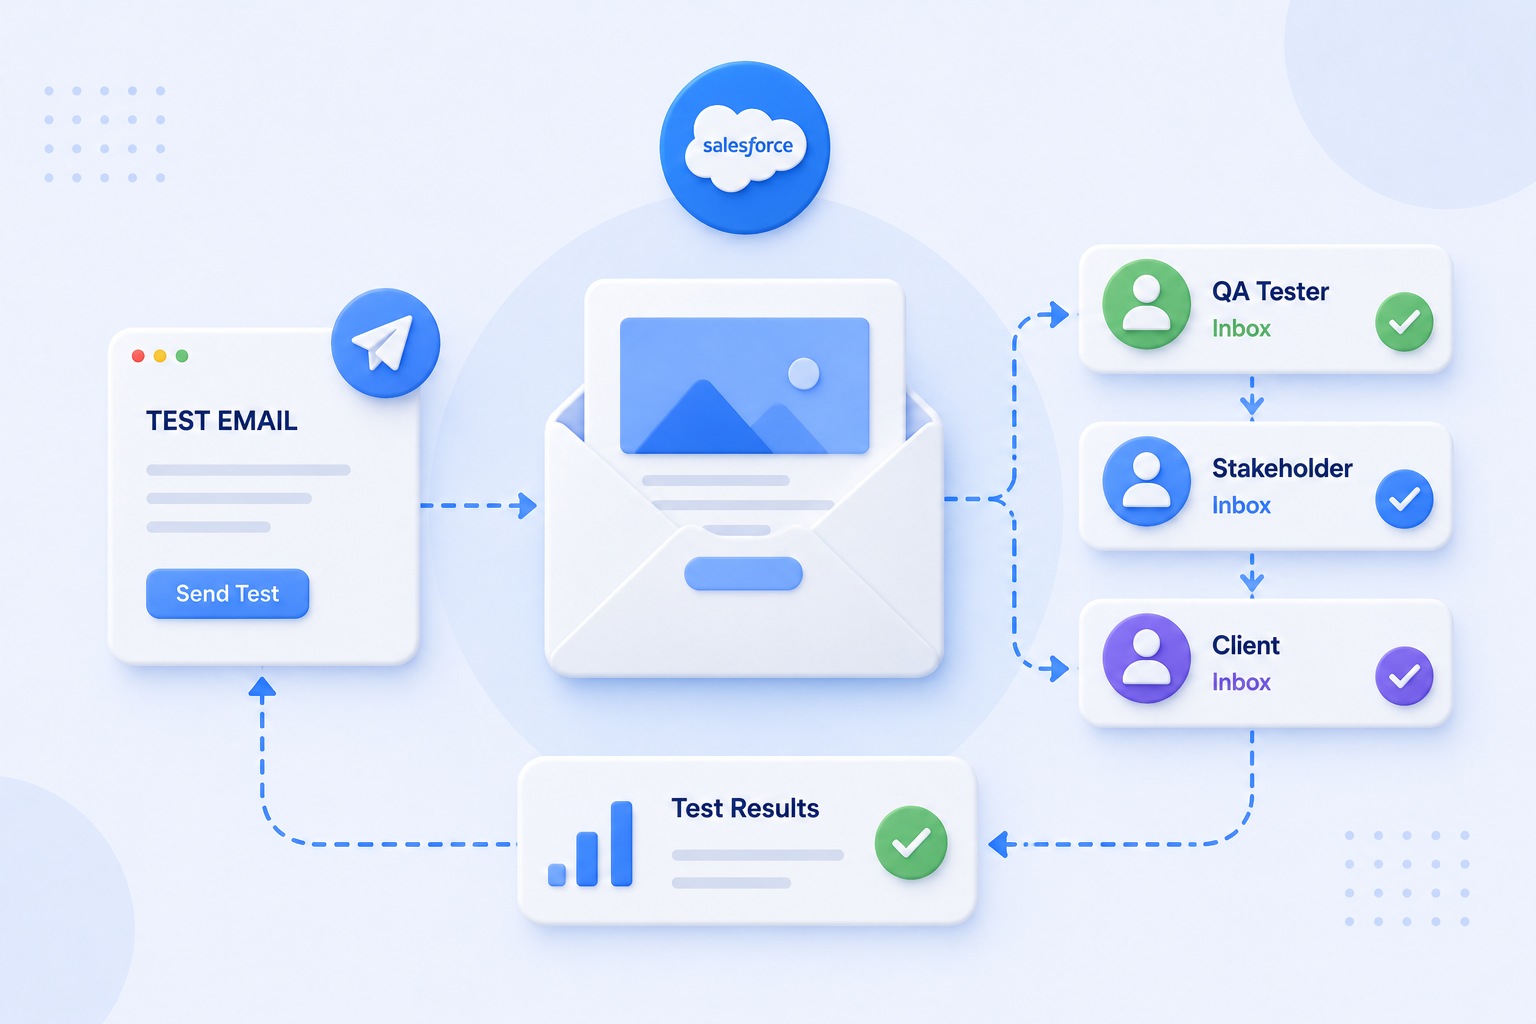
6. Test Every Path Before Activating
Never activate a journey without testing every path through it.
Journey Testing mode — Journey Builder has a built-in test mode that lets you send test contacts through the journey without triggering live sends. Use it to validate that decision splits are routing correctly and that each email is rendering as expected.
Test with real data — use test subscriber records that represent each segment in your decision splits. A Gold member test record, a Silver member test record, and an unmatched test record — one per path.
Check dynamic content rendering — for each email in the journey, use the Preview and Test function in Content Builder to confirm that dynamic content blocks are resolving to the correct variant for each test subscriber.
Validate exit criteria — confirm that contacts who meet your journey goal are exiting correctly and not continuing to receive messages they should no longer receive.
7. Enhance Personalisation with Einstein
SFMC’s Einstein AI features add a predictive layer to journey personalisation — moving beyond rule-based logic to behaviour-based prediction.
Einstein Engagement Scoring
Einstein Engagement Scoring assigns each subscriber a score predicting their likelihood to open and click. Use this score as a Decision Split attribute in Journey Builder:
— High engagement score → send at your standard cadence
— Low engagement score → reduce frequency, test re-engagement content, or suppress from non-critical sends
This prevents you from over-mailing disengaged contacts — a common cause of deliverability problems and unsubscribe spikes.
Einstein Send Time Optimisation
Einstein Send Time Optimisation (STO) analyses each subscriber’s historical open behaviour and sends each email at the time they are most likely to open — individually, not as a batch. Enable it on individual email activities within your journey rather than sending all contacts at the same time.
Einstein Recommendations
Einstein Recommendations surfaces personalised product or content suggestions based on browse and purchase behaviour. The recommendations render as a dynamic content block in your email — a catalogue of items unique to each subscriber, populated at send time.
Recommendations require a product catalogue feed and behavioural tracking setup. For high-volume e-commerce senders, the engagement lift is typically significant enough to justify the implementation investment.
8. Monitor and Optimise Journey Performance
Once your journey is active, review performance regularly — not just at the end.
Key metrics to monitor per journey path:
| Metric | What It Tells You |
|---|---|
| Path volume | Are contacts routing as expected across splits? |
| Open rate per path | Which content variant is performing best? |
| Click rate per path | Which CTA and offer is driving action? |
| Goal conversion rate | What % of journey entrants are achieving the goal? |
| Exit rate | Are contacts dropping out before completing the journey? |
| Unsubscribe rate | Is any path generating complaint-level opt-outs? |
Use this data to refine decision split logic, adjust wait timing, and iterate on content. A journey that is never optimised after launch will plateau — a journey reviewed and adjusted quarterly will compound performance over time.
For the operational practices that keep SFMC journeys performing at scale, the SFMC best practices guide covers governance, data hygiene, and journey architecture in detail.
Conclusion
Personalised journeys with dynamic content in SFMC are not a single feature — they are a system. Journey Builder provides the orchestration layer. Dynamic content blocks and AMPscript handle the message personalisation. SQL and data extensions provide the audience precision. Einstein adds the predictive layer.
Each component reinforces the others. The teams getting measurable results from SFMC personalisation are the ones who have invested in all four — not just the Journey Builder canvas.
If you want help designing a personalised journey architecture for your specific use case, get in touch →
References: Journey Builder Overview — Salesforce Help Content Builder Overview — Salesforce Help Einstein Recommendations — Salesforce Help Einstein Engagement Scoring — Salesforce Help